
What mulch actually does for a bed
Most people buy mulch because a fresh layer makes a yard look sharp. That's true, and it's the least of it. A good layer of mulch is doing real work under the surface:
- It slows the water from leaving. Bare soil bakes and dries out fast in our sun. A mulch layer shades the dirt, so the water you put down stays in the root zone longer instead of burning off by noon. In a North Texas July, that can be the difference between watering twice a week and watering every other day.
- It keeps weeds from sprouting. Most weed seeds need light to get going. A two-to-three-inch blanket blocks that light, so far fewer come up. The ones that do pull out easily from the loose mulch.
- It steadies the soil temperature. Roots hate the swing more than the heat itself. Mulch keeps the ground cooler in summer and a little warmer through a cold snap, so the roots aren't shocked either way.
- It feeds the clay as it breaks down. This is the part rock and rubber can't do. Real wood mulch slowly rots into the soil and adds organic matter to our heavy clay, which is exactly what that clay is short on. Each year's layer leaves the dirt underneath a little better than it found it.
Add it up and a few yards of mulch protects the plants, the trees, and the soil all at once — for less than almost anything else you could spend on the yard.
The depth rule, and why more is not better
Two to three inches. That's the number for almost every bed. It's worth understanding why, because the instinct is always to pile on more.
Go under two inches and the layer is too thin to do its job. Light still reaches the soil, so weeds sprout. The thin layer dries out in a day, so the moisture benefit is gone. You spent the money and got the look without the function.
Go over three or four inches and you cause the opposite problem. Water and air can't move through a thick mat of mulch to reach the roots. The roots, starved for air, start growing up into the mulch where it's damp — shallow, weak, and the first to fry when that top layer dries out. Pile it really deep and you can suffocate the roots outright.
So you're aiming for a steady two to three inches across the whole bed. Rake it level. An even layer at the right depth beats a deep, lumpy one every time.
The mistake that kills trees: the mulch volcano
Drive through almost any neighborhood in the metroplex and you'll see it — mulch mounded a foot high against a tree trunk, tapering down like a little volcano. It looks tidy. It's slowly killing the tree.
Bark is built to be dry and exposed to air. Pack moist mulch against it and it stays wet, and wet bark rots. Once the bark rots at the base, the tree can't move water and nutrients up the trunk the way it needs to. The mound also invites rodents and insects to nest right against the trunk, and it pushes roots to grow in a tight circle around the base instead of spreading out. None of this shows up the first year. It shows up three or four years later as a tree that's slowly failing for no obvious reason.
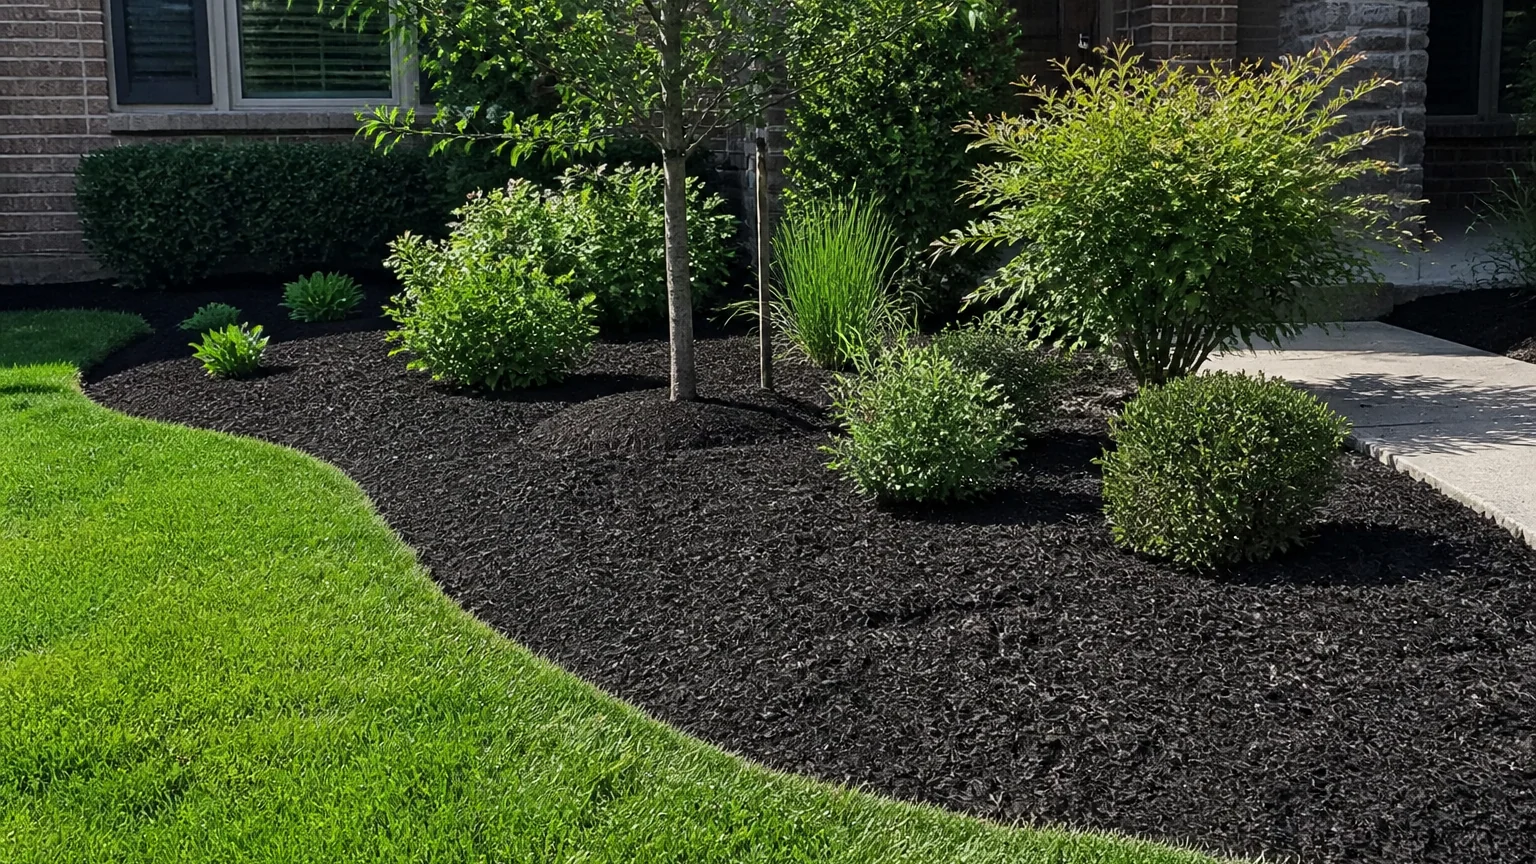
The fix is simple and free: keep the mulch pulled back a few inches from every trunk and stem. You want a small ring of bare soil at the base, then the mulch starting beyond it — flat, not mounded. The shape to picture is a doughnut, never a volcano. The same goes for shrubs and perennials: keep the mulch off the crown where the stems meet the soil.
How to lay it, step by step
A mulch job is straightforward, but the order matters. Skipping the prep is why some beds need re-weeding a month later. Before you start, grab the basics: gloves, a flat rake, a spade or bed edger, and a wheelbarrow or tarp to move the mulch.
- Weed the bed first. Pull what's growing now, roots and all. Mulch can't fix a weed problem — it blocks new weed seeds from sprouting, but it won't smother what's already rooted. Lay it over live weeds or grass and they push right back through in a week. Pull them now and the mulch keeps the bed clean.
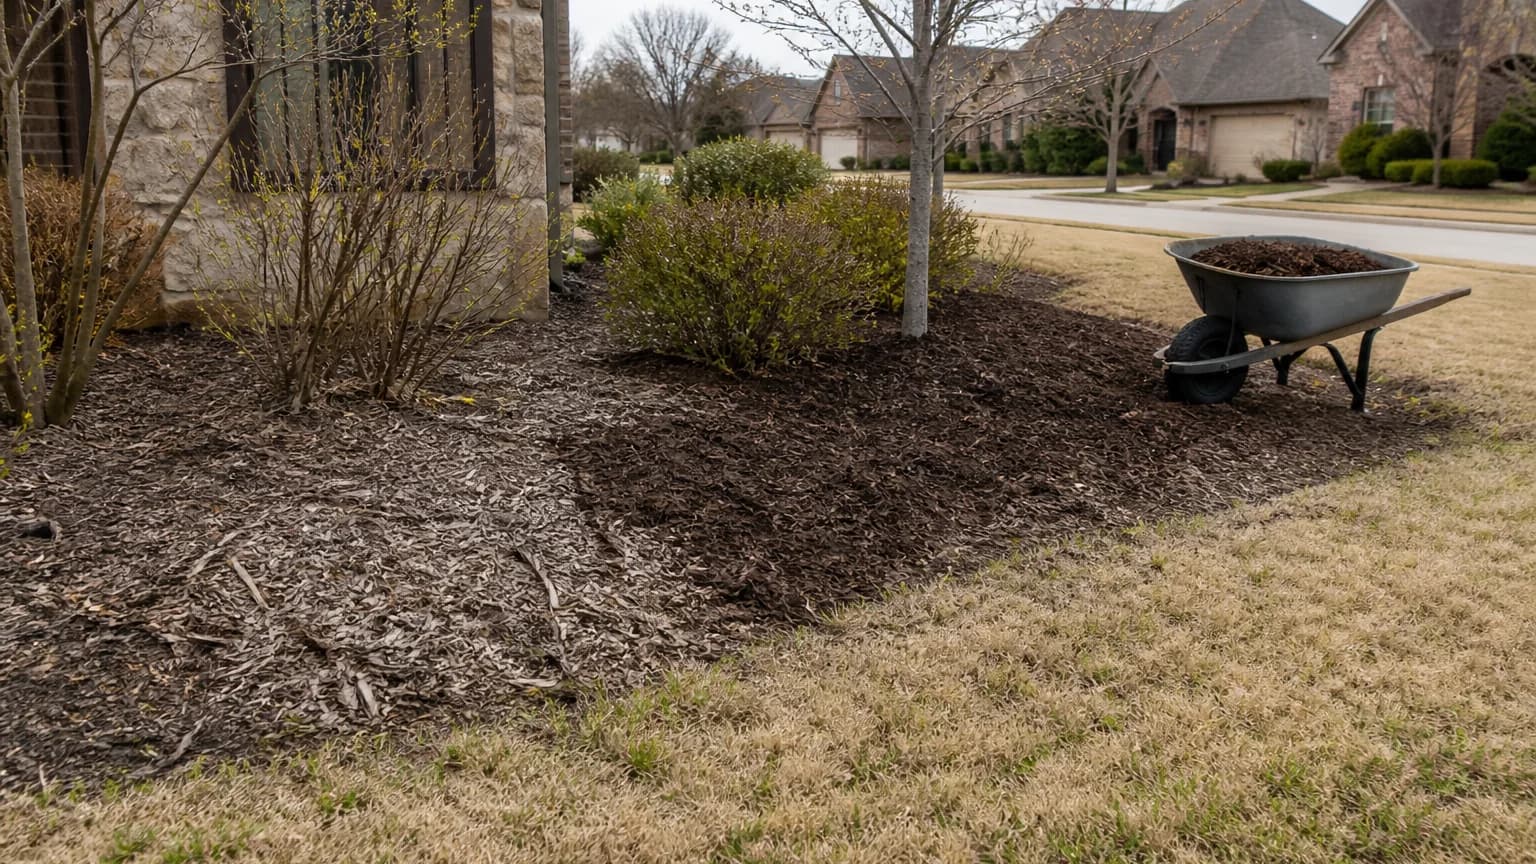
- Edge the bed. Cut a clean line where the bed meets the lawn. A spade or edger, sunk about a blade deep and angled back toward the bed, gives you a shallow trench that holds the mulch in and keeps the grass out. This one step is most of what makes a fresh bed look professional.
- Water if it's dry. If the soil is dusty, give the bed a good drink before you mulch. Mulch over bone-dry soil can shed the next rain instead of letting it soak in.
- Spread to two to three inches. Work it in from the back of the bed, raking as you go so the depth stays even. Break up any clumps. Around brand-new or small plants, go lighter and keep the mulch well off the little stems — a thick pile will smother a young plant the same way it rots a trunk.
- Pull it back from the trunks. Before you call it done, walk the bed and clear that ring of bare soil — about three inches — around every trunk, stem, and crown. This is the step people skip, and it's the one that matters most.
- Water it in. A light watering after settles the mulch and starts it doing its job.
Done in that order, the bed looks finished the day you're done and stays clean for months.
How much mulch do I need?
This is the question everyone gets wrong at the store, usually by buying too little. The math is simple once you know it.
One cubic yard of bulk mulch covers about 100 square feet at three inches deep, or about 160 square feet at two inches. Bulk is how you buy it for anything bigger than a small bed — it's cheaper by volume and it gets delivered in a pile.
If you're buying bags, the common two-cubic-foot bag covers about 8 square feet at three inches deep. So a 200-square-foot bed at three inches takes roughly 25 bags — which is exactly when bulk starts making sense.
To size your beds, here's the whole formula in one line:
Length × width (in feet) ÷ 100 = cubic yards of mulch at three inches deep.
So a 20-by-15-foot bed is 300 square feet, or about 3 cubic yards. Round up. Running a little over is far better than stopping a bed short and trying to match a second batch later.
Why mulch earns its keep in North Texas
Mulch matters more here than it does in a milder, looser-soil part of the country, for two local reasons.
First, the heat. Our summers run long and hot, and bare beds take the full force of it. The soil bakes, cracks, and pulls moisture away from roots faster than you can replace it with a hose. A mulch layer is the cheapest shade you can give a bed. It cuts how often you have to water and keeps the root zone from cooking — which is exactly what your shrubs and drought-tolerant plants need to make it to fall.
Second, the clay. North Texas soil is heavy clay — slow to drain, and short on the organic matter that plants love. Wood mulch is the slow fix. As each layer breaks down, it works organic matter into that clay from the top down, year after year. Rock and rubber mulch never do this; they sit there, and rock actually radiates heat back up into the bed in summer. For beds with living plants here, organic mulch is almost always the better call.
Which mulch to use here
For beds with living plants, organic wood mulch beats rock and rubber, because it feeds the clay as it breaks down. Here's how the common types compare:
| Mulch type | How long it lasts | Notes for North Texas |
|---|---|---|
| Shredded hardwood | About a year | The workhorse here — best all-around value. Knits together, so it stays put on a slope instead of washing into the lawn. |
| Cedar or cypress | A bit longer | Holds color and breaks down slower. Costs more than plain hardwood. |
| Pine bark | About a year | Lighter pieces; can float and wash off in a hard storm, so it's better on flat beds. |
| Rock / gravel | Years | Doesn't rot, so it never feeds the soil, and it radiates heat back into the bed in summer. Better for paths and drainage than for planted beds. |
| Rubber | Years | Doesn't break down or improve the soil. Most extension services steer away from it for planted beds. |
On a slope, lean toward the finer shredded grades — they knit and grip — and away from loose nuggets, which float off in our downpours.
One mulch to avoid, and a pet note
Two things worth knowing before you buy. First, skip cocoa mulch if you have a dog. It's made from cocoa bean shells and carries the same compound that makes chocolate toxic to dogs, and its sweet smell pulls them right to it. Shredded hardwood or cedar is the safe call. Second, dyed mulch is fine on the dye itself — the red and black colors come from iron oxide and carbon, which aren't harmful. The thing to check is the wood underneath it. Some dyed mulch is ground from recycled construction wood of unknown origin. Buy it from a supplier who can tell you the wood source, and keep any mulch you're unsure of out of vegetable beds.
When to DIY, and when to hand it off
A bed or two is a fair weekend project for most homeowners. The work isn't hard; it's just heavy, and the details — the depth, the edge, the gap around the trunks — are easy to rush when you're hauling your tenth wheelbarrow. Once it's the whole property, or you'd rather it just be handled, that's where a crew earns it.
Here's where calling a pro pays off:
- It's more mulch than a weekend holds. A full property can run many cubic yards. That's a lot of shoveling, hauling, and spreading, plus a delivery you have to move off the driveway before the truck leaves.
- The beds need edging and shaping first. A crisp, re-cut edge is most of what separates a sharp bed from a sloppy one, and it takes the right tools and a practiced hand to get a clean line.
- You want it kept up, not just done once. Mulch isn't a one-time job. It fades and thins over a year, so put two dates on the calendar — a spring refresh before the heat and a fall top-up before the freeze. Those two layers are what keep beds covered through both hard seasons.
- It's part of a bigger bed project. If you're building new beds or replanting, the mulch is the last step of a landscape design job, not a standalone task — and it goes down right, the first time, over properly prepped soil.
Want the beds edged, prepped, and mulched right — and kept that way? Get a free quote.